


Description
What is a PCB board holder?
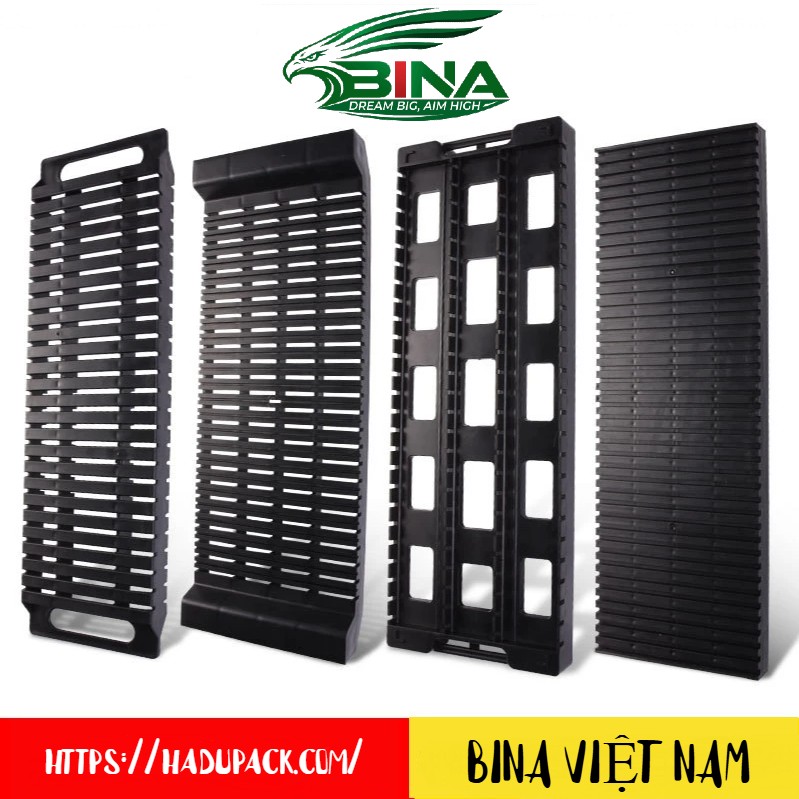
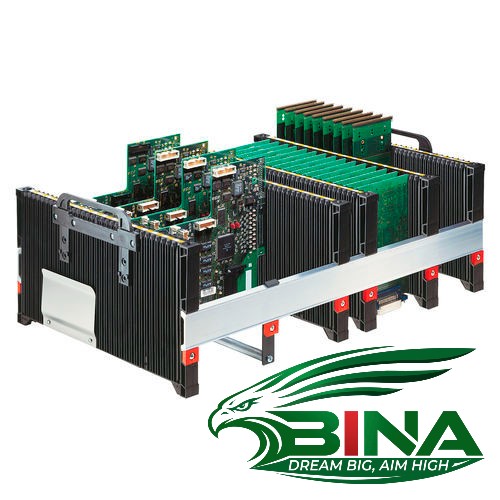
A PCB holder (or PCB rack) is a specialized storage and transport device designed to hold printed circuit boards. They are used in electronics manufacturing, prototyping, and repair to organize and safely protect delicate circuit boards without stacking them on top of one another.
 |
Depending on your needs, these racks typically serve one of two main functions:
1. Storage, drying, and transportation racks:
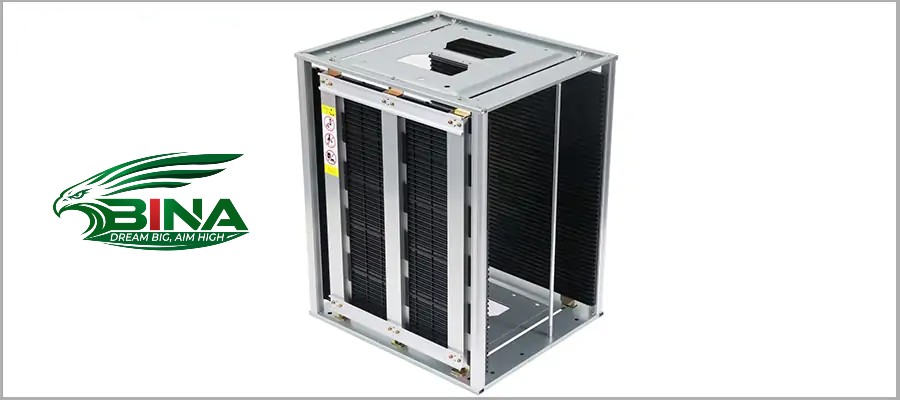
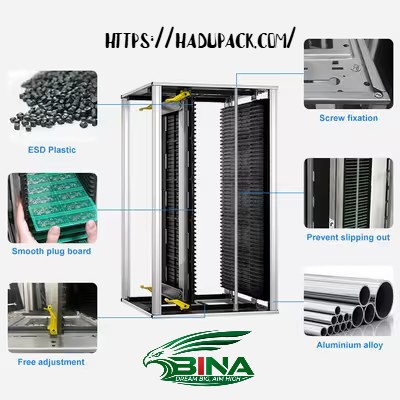
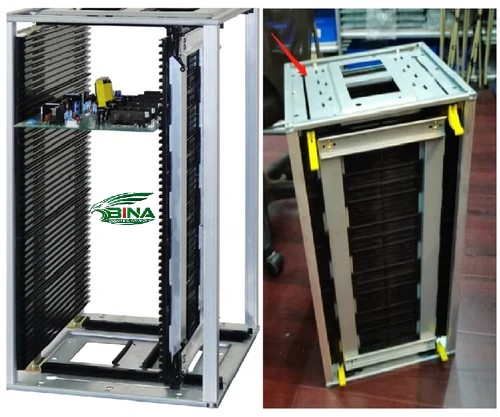
Used during the manufacturing or assembly process, these racks hold multiple circuit boards vertically in designated slots.
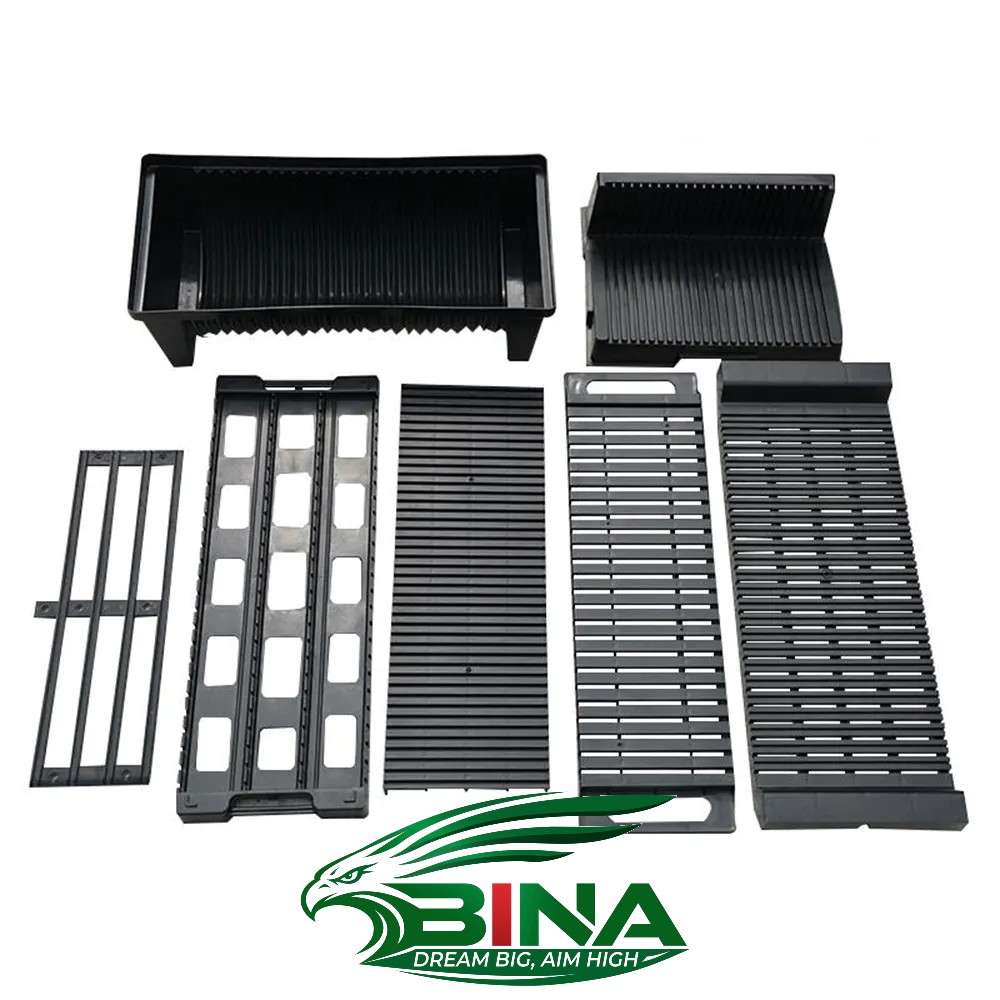
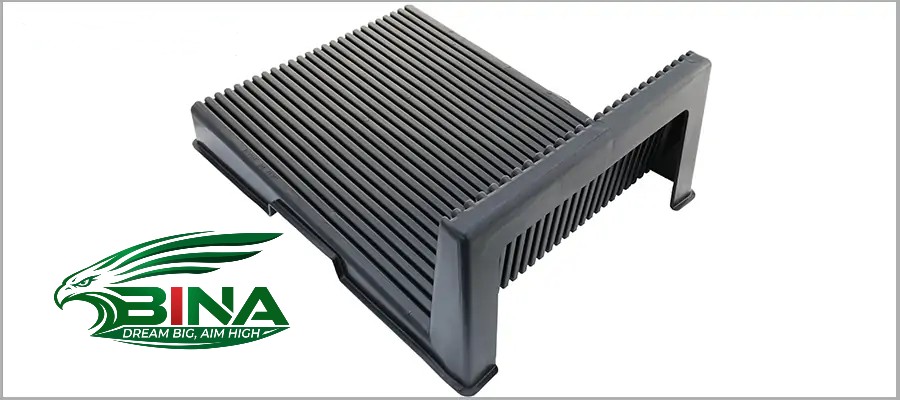
- Design: Usually made of aluminum or conductive plastic, they feature parallel grooves (slots) to keep the circuit boards separated.
- ESD Protection: Most industrial racks are anti-static (or ESD-safe) to protect sensitive electronic components from electrostatic discharge.
- Usage: They are widely used to safely store, transport, dry (after cleaning/coating), or cool PCBs on assembly lines.
 |
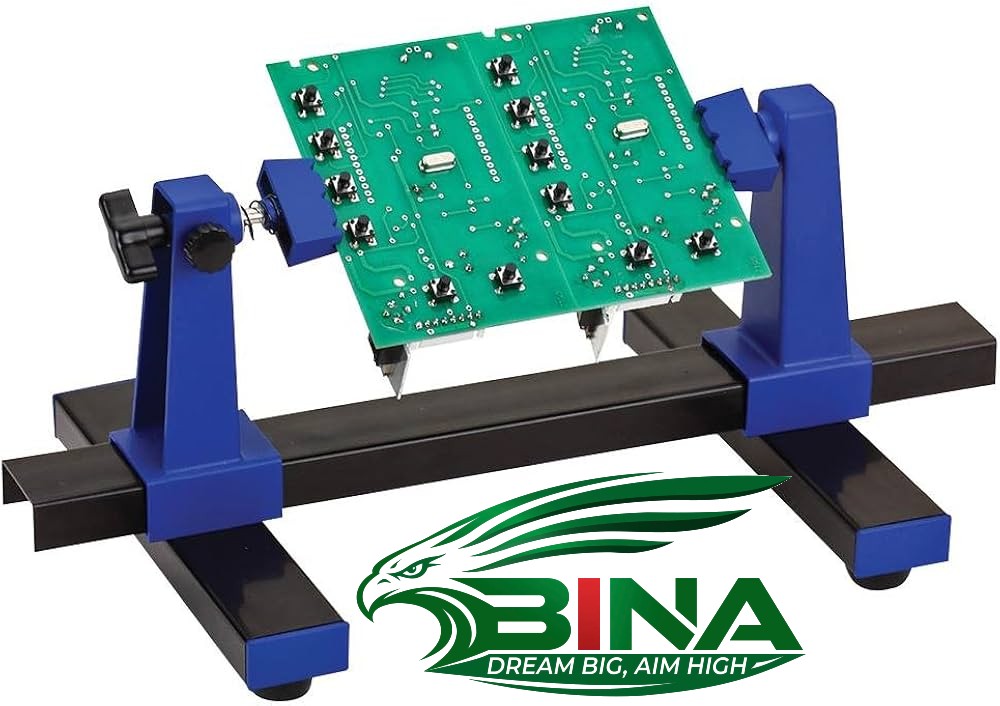
2. Assembly and soldering holder (Sometimes called “PCB holder”)
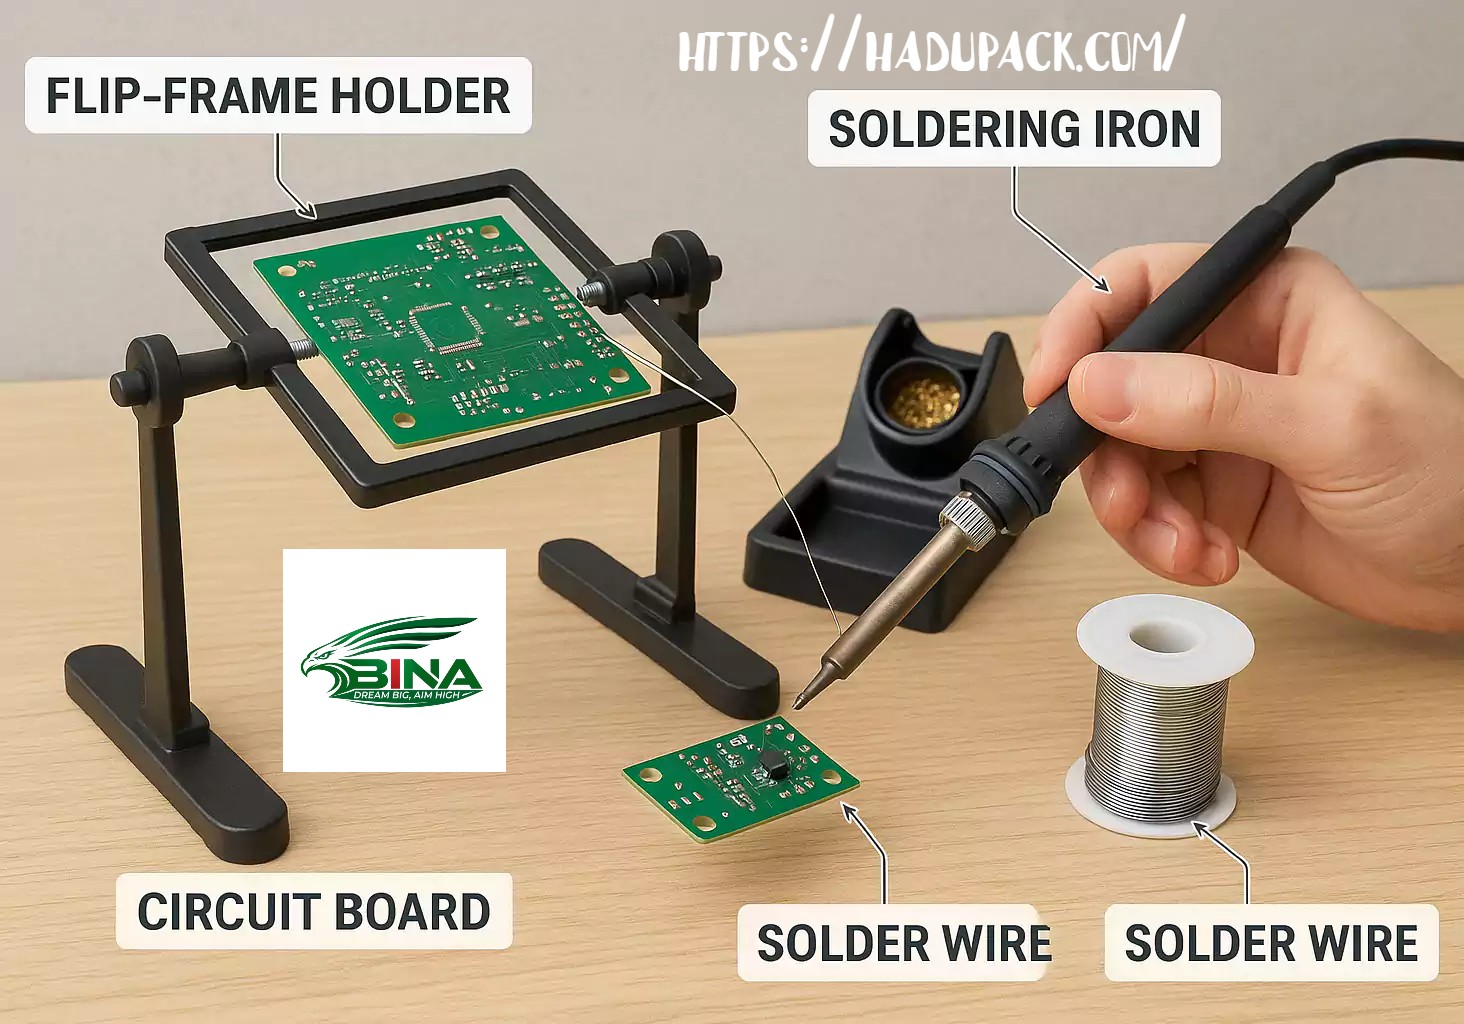
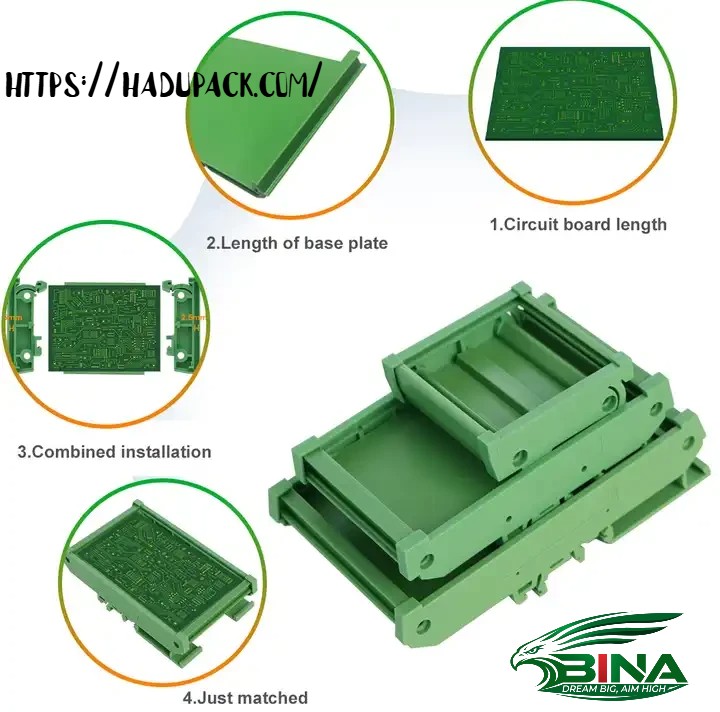
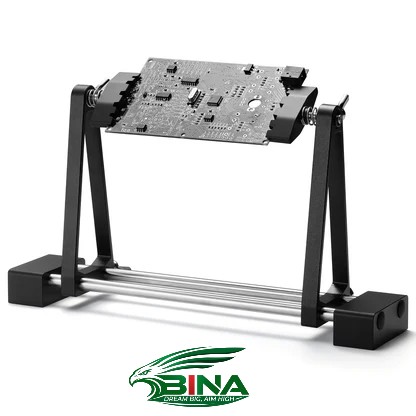
It is a mechanical device designed to hold a printed circuit board firmly while you work on it.
- Design: Usually consists of a heavy, sturdy base with adjustable clamps to lock the printed circuit board in place.
- Function: It acts as a “third hand”, allowing you to hold, rotate or tilt the circuit board securely. This prevents the board from slipping while you perform complex soldering, desoldering or inspection tasks.
 |
◆Learn more:
- https://hadupack.com/san-pham/khan-lau-phong-sach-1004-1006/
- https://hadupack.com/san-pham/khan-lau-phong-sach-4009/
Structure of PCB/SMT Printed Circuit Board Holders
A PCB board holder is a basic fixture designed to securely clamp a printed circuit board, keeping it stable without the need to hold it by hand during soldering, repair, and inspection. It acts as a “third hand” to prevent the board from moving and components from shifting. Standard PCB holders have a consistent modular structure:
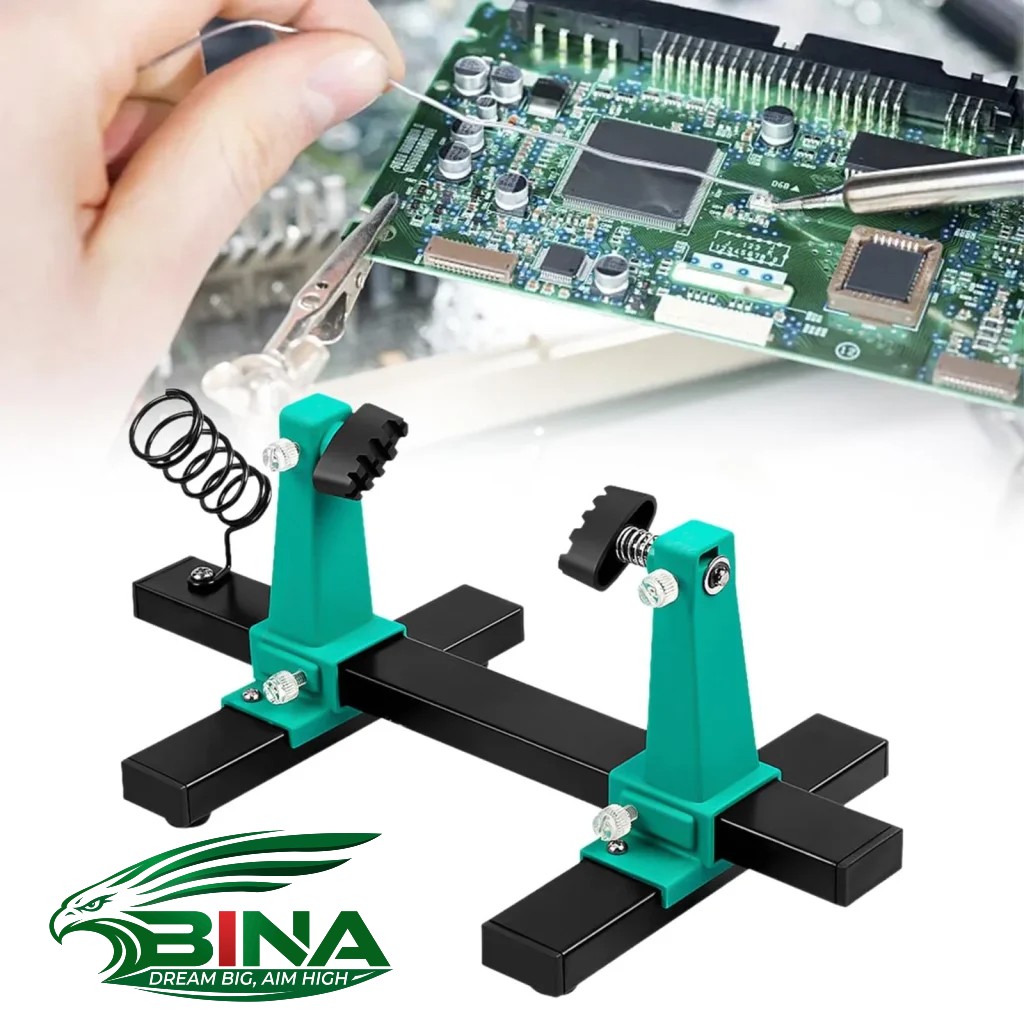 |
- Heavy base: The heavy, stable base helps prevent the device from sliding on the workbench. It usually has non-slip rubber feet or mounting points for clamping it to the table.
- Adjustable rails/jaws: The main clamping mechanism. Most holders use two parallel bars or grooves, at least one of which is adjustable to accommodate different PCB lengths and widths. The jaws usually have angled grooves or spring clamps to securely hold the edges of the circuit board.
- Rotation and tilt mechanism: A swivel joint or gimbal joint connects the clamps to the base. This allows the technician to rotate the circuit board up to 360 degrees or tilt it at various angles, making it easy to access both the top and bottom sides of the board without removing it from the clamps.
- Locking knobs: Hand screws or quick-release levers help lock the adjustable jaws and swivel angle in place after the circuit board has been positioned correctly.
 |
 |
Instructions for Using a PCB Board Holder
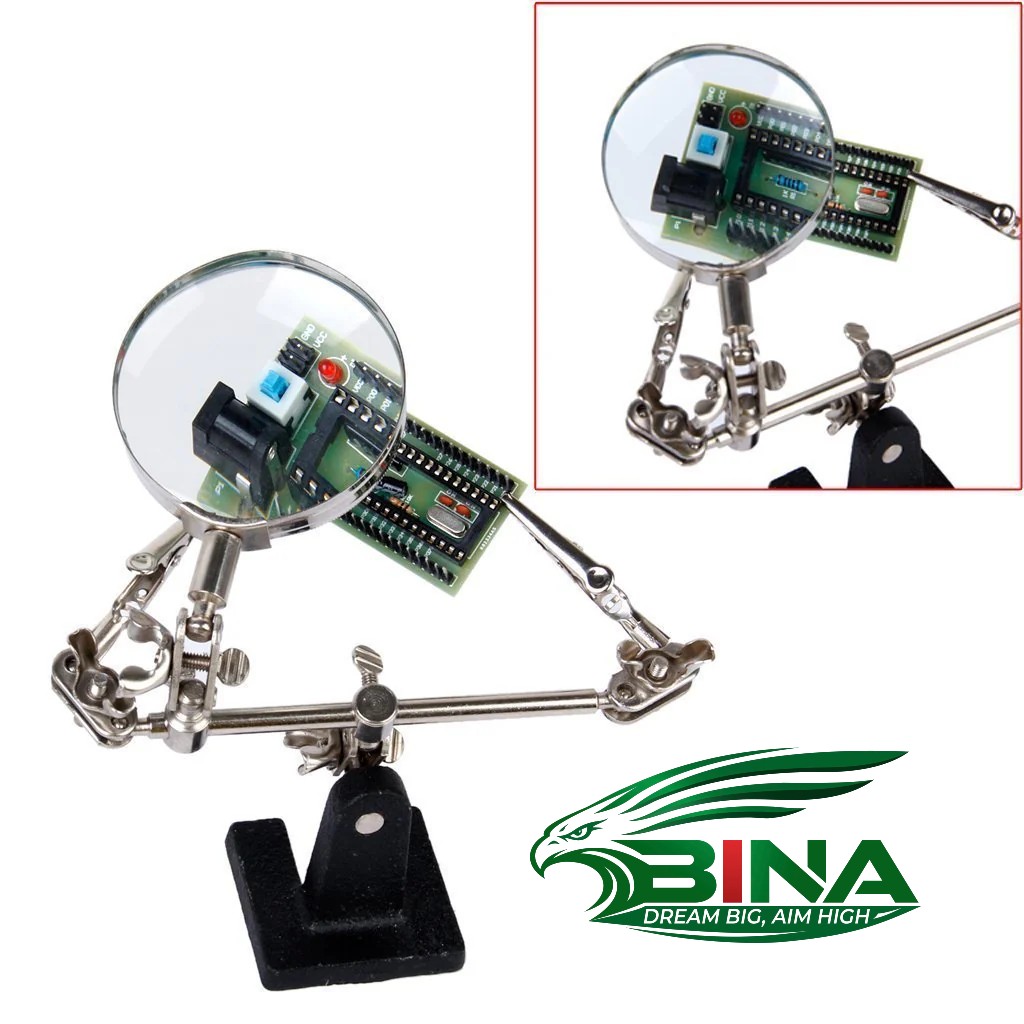
To use a PCB board holder, adjust the clamps or magnetic posts to fit your board, slide the PCB securely into place without bending it, and lock the angle. This stabilizes the board so you can easily access both sides for soldering or repairs.
 |
Adjust the holder
- For the clamp/retaining clip holder: Loosen the adjustment knobs and slide the clamps outward. Set the width to fit your PCB and lightly lock the tension.
- For magnetic holders/clamps: Place your board flat on a silicone mat or non-slip mat. Position the magnetic posts around the edges of the PCB so that they hold the board securely in place without touching any fragile components.
 |
 |
2. Secure the PCB board
- Gently slide the edges of the board into the clamp grooves. Ensure the holder grips the edges of the board firmly and rests on the rubber pads.
- Avoid overtightening: Tighten the knobs just enough to prevent the circuit board from slipping, but not so tightly that the board bends or warps, as this could break the delicate copper traces.
 |
3. Positioning and operation:
- Adjusting the board angle: Many holders are adjustable, allowing you to tilt or rotate the board 360 degrees. Position the board at an angle that is comfortable for your workflow.
- Soldering: After securing, begin placing and soldering electronic components. In general, it will be easier to solder small, flat components (such as resistors) before moving on to larger, heavier components (such as capacitors).
4. Remove the circuit board:
Wait for the circuit board and the new solder joints to cool completely. Slightly loosen the tension adjustment knobs or remove the magnetic posts to carefully lift the circuit board out of the holder.
 |
Tips for Maintaining PCB Board Holders
Maintain your PCB board holder to ensure stable, slip-free soldering and assembly by following these essential maintenance steps:
 |
- Clean the clamps and grooves: Regularly remove flux residue, welding slag and dust from the clamping jaws and grooves using a soft brush. Avoid using abrasive cleaners because they can scratch the aluminum and reduce friction.
- Maintain the contact pads: Inspect the silicone or rubber jaw pads for deep scratches or wear. Replace them when they become hardened or lose their grip to avoid damaging the circuit board.
- Lubricate moving parts: Apply a small amount of dielectric grease or silicone grease to the tension screws and grooves of the telescoping arm. Avoid using ordinary oil, as it attracts dust and can interfere with electrical work.
- Protect the ESD coating: Check whether the anti-static grounding clips or the ESD-safe coating of the holder are still intact to protect sensitive electronic components.
Detailed information about our Hadupack
 |