

Description
What is a product display box?
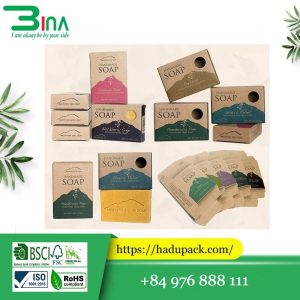
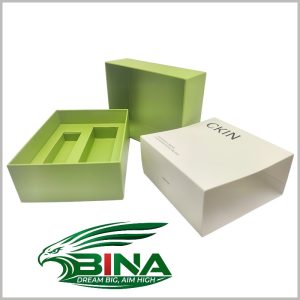
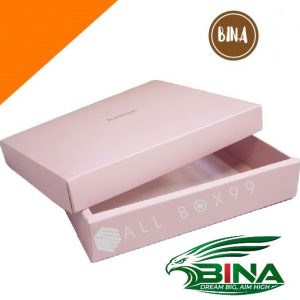
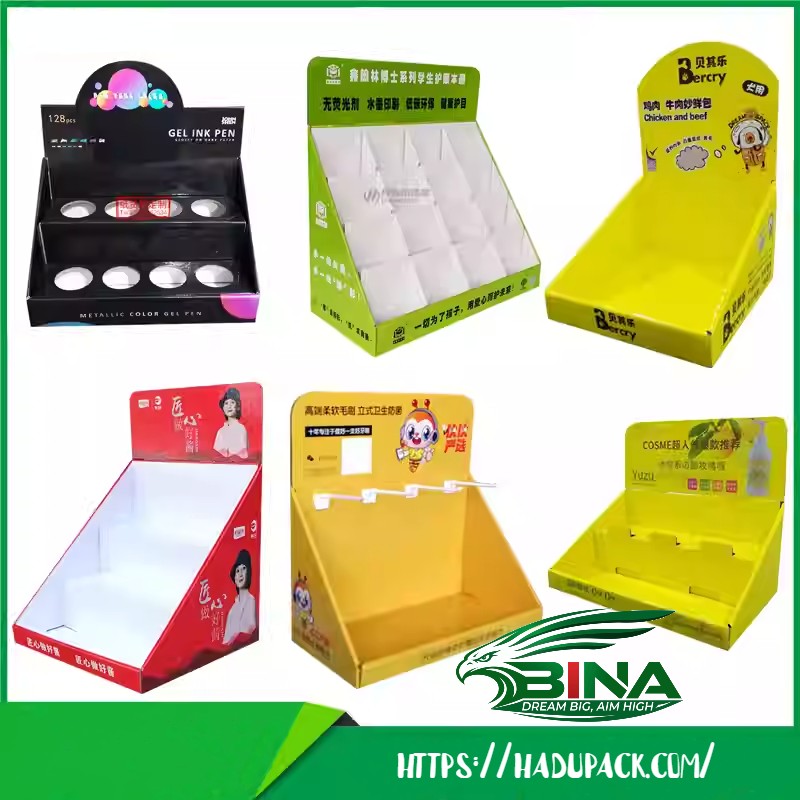
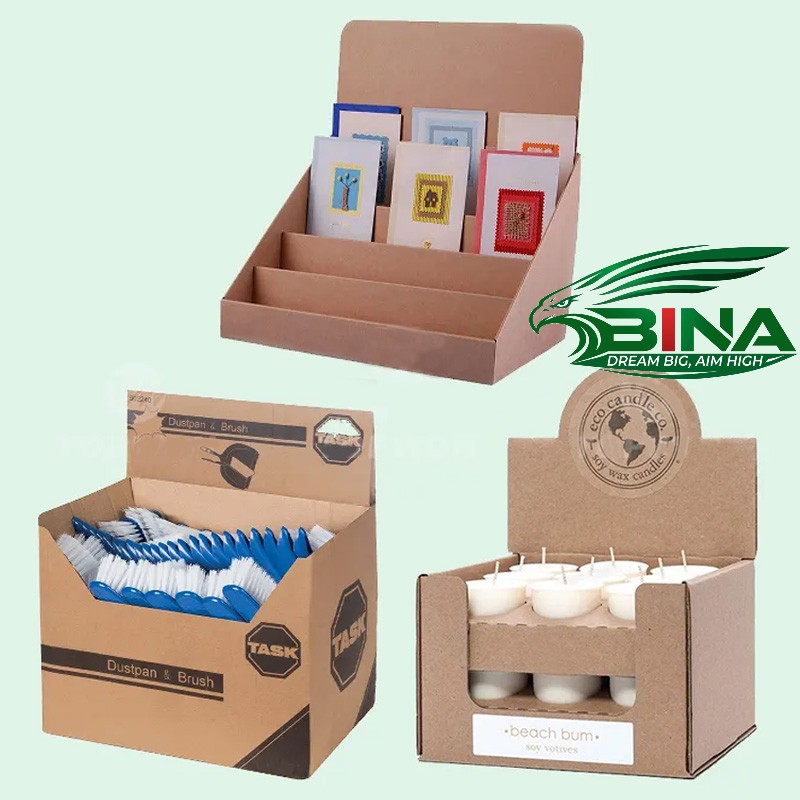
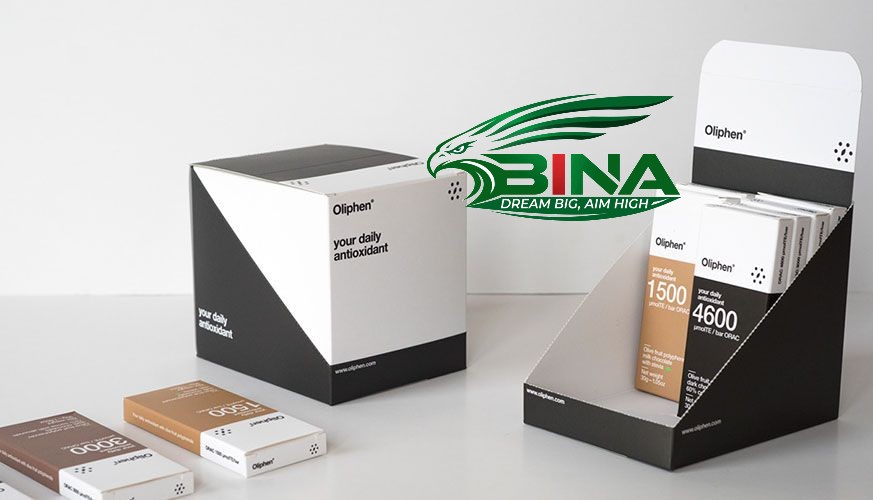
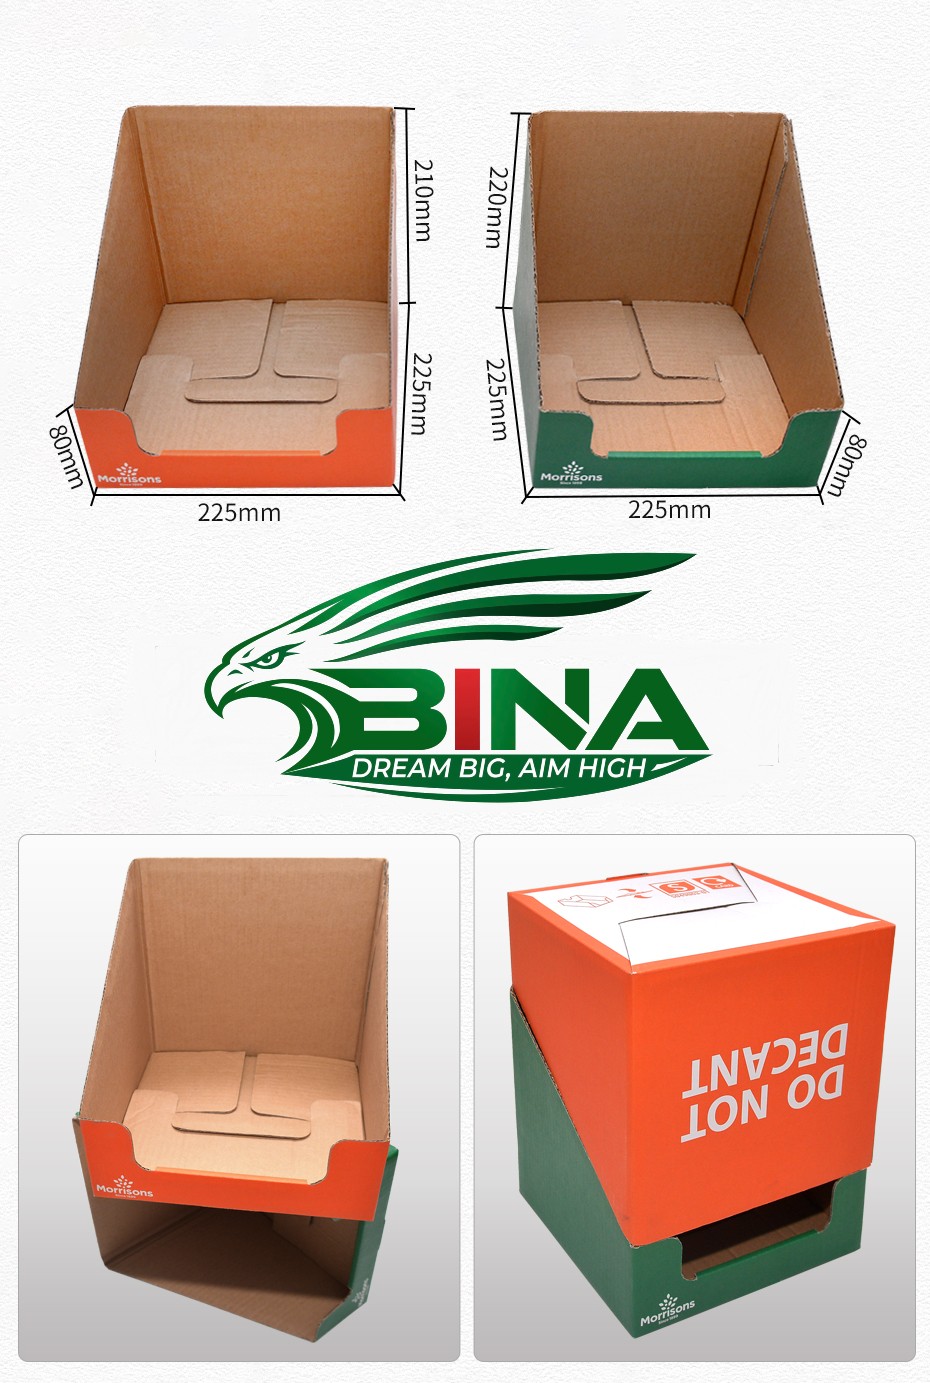
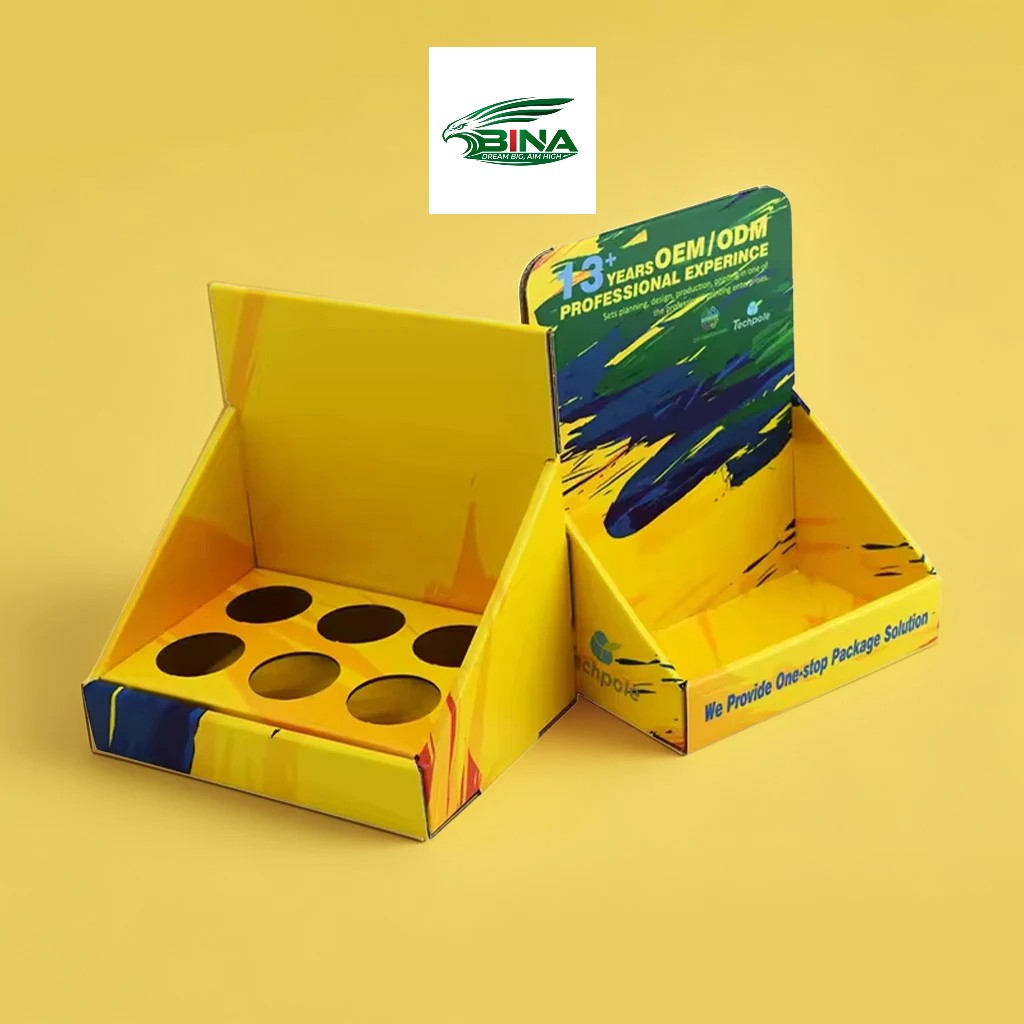
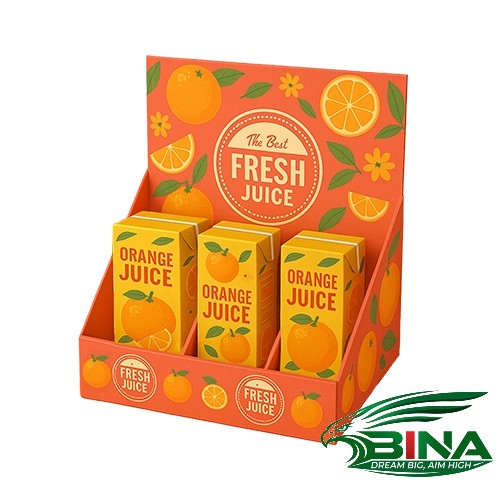
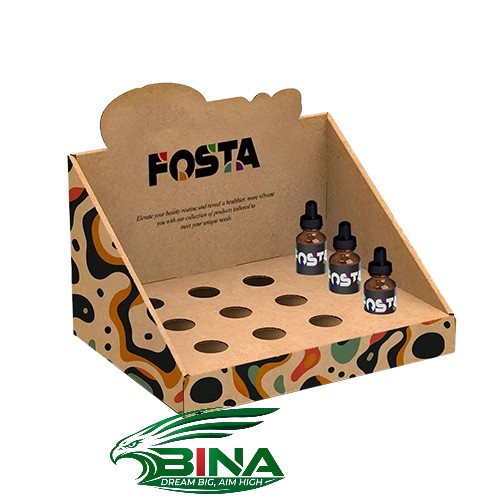
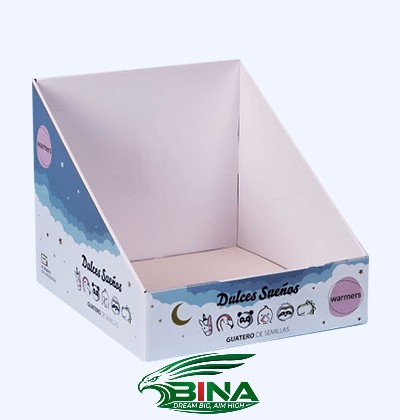
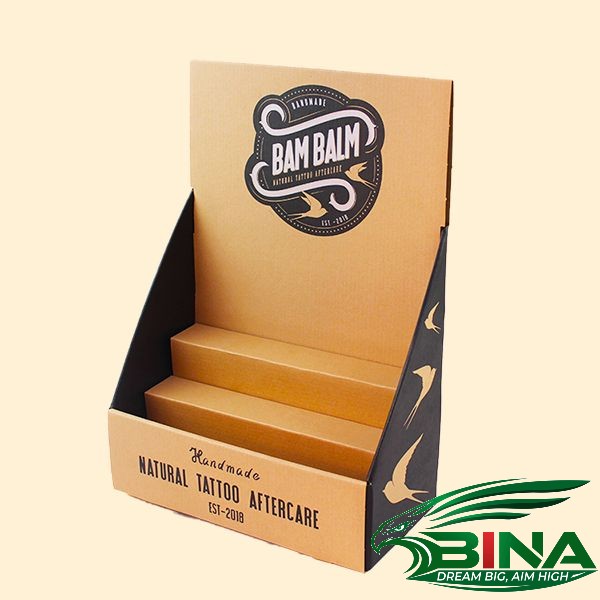
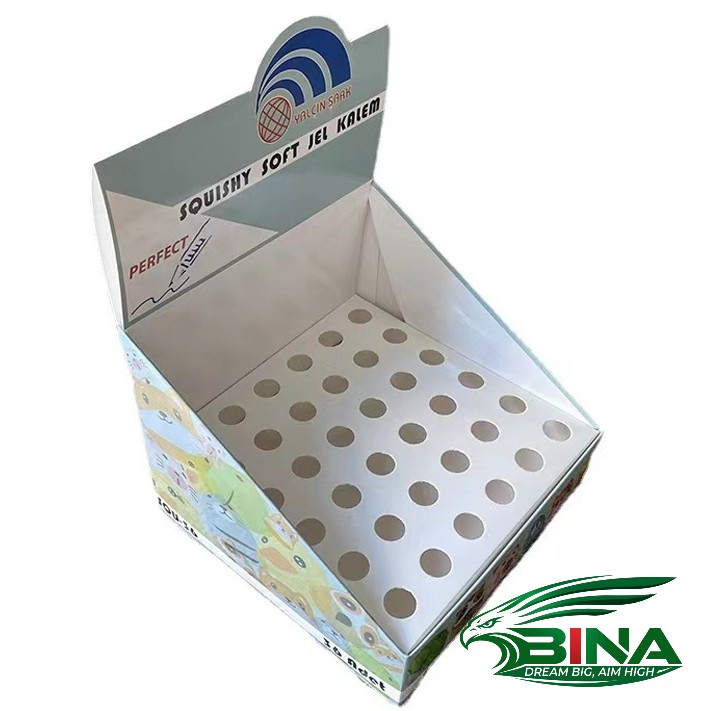
A product display box (PDQ) is a type of packaging that combines the functions of “shipping packaging” and a “point-of-purchase (POP) display”. They are typically made of paperboard or corrugated cardboard and are designed to be torn open or assembled and placed on retail shelves or counters to display merchandise. This significantly reduces display setup time, increases product accessibility, reinforces brand image, and effectively encourages impulse purchases. The following is a detailed analysis of product display boxes:
 |
◆Learn more:
- https://hadupack.com/san-pham/hop-giay-dung-ruou/
- https://hadupack.com/san-pham/hop-giay-dung-thuc-an/
- https://hadupack.com/san-pham/hop-giay-dung-thuc-an/
1. Core functions and advantages of product display boxes
- Multi-purpose box (SRP – Shelf-Ready Packaging): Serves as both a shipping box and a display shelf in stores, saving labor costs for unpacking and arranging individual products.
- Increased accessibility and sales: Unique design and printing help products stand out among the multitude of goods on shelves, commonly seen in promotional programs at checkout counters.
- Quick assembly: Store employees can easily assemble and disassemble them quickly, making them suitable for retail chains and convenience stores.
- Environmentally friendly and customizable: Mainly made from recycled paper materials, the structure and advertising content can be customized according to the product shape.
 |
 |
2. Common application scenarios
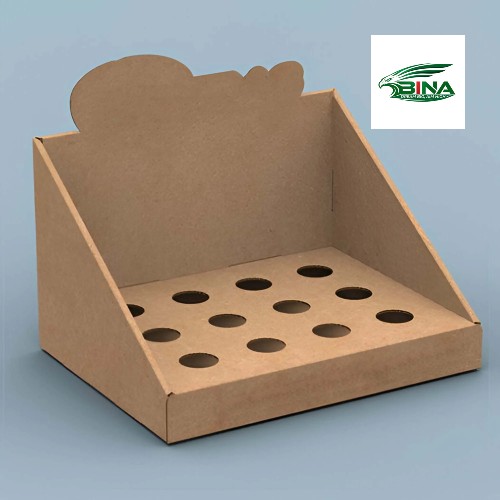
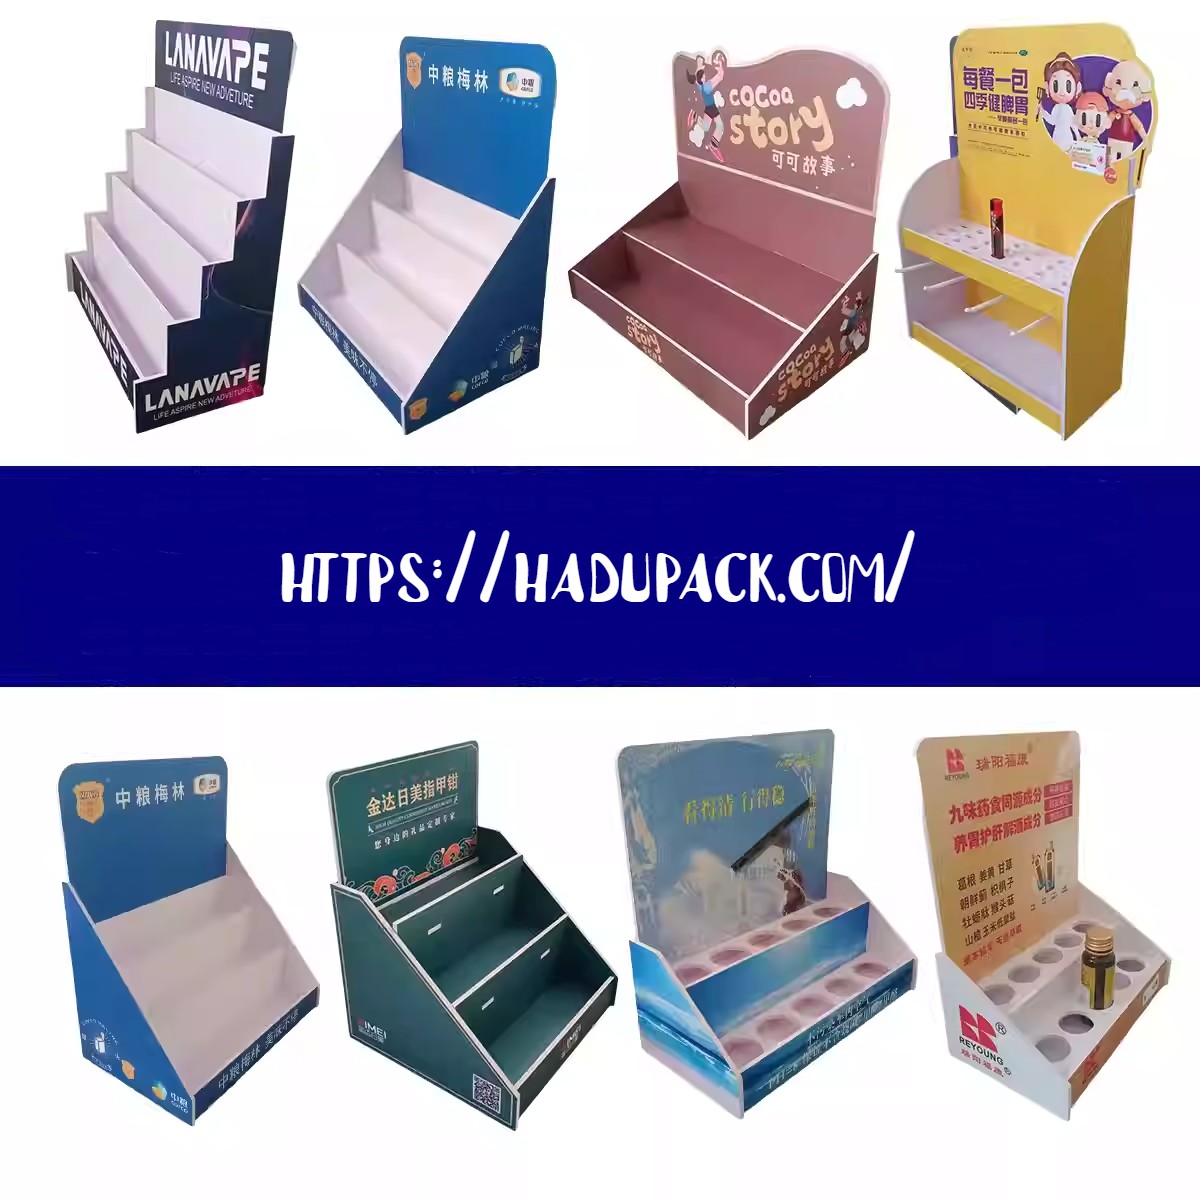
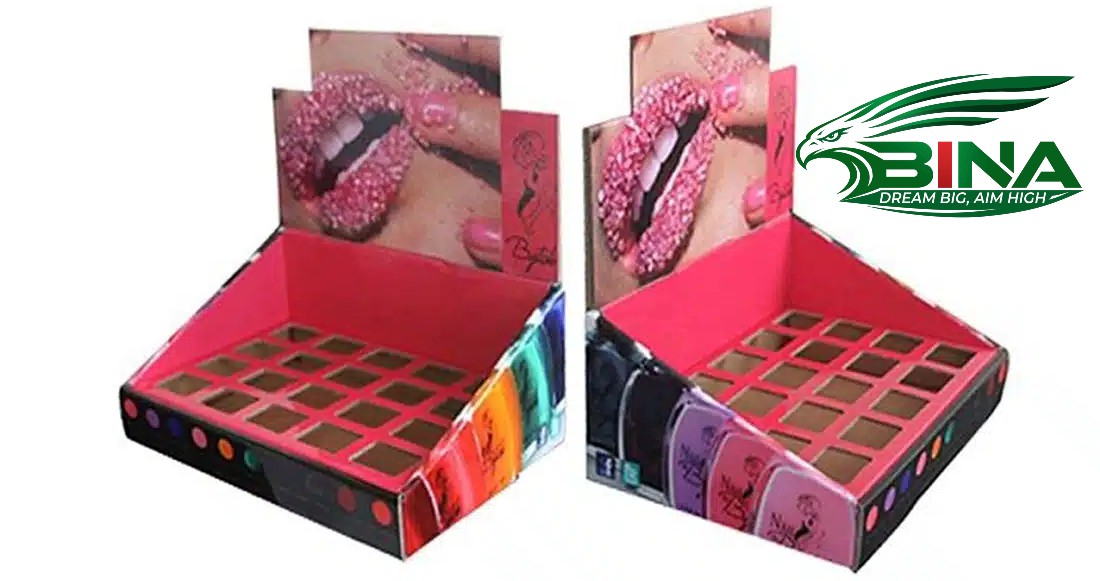
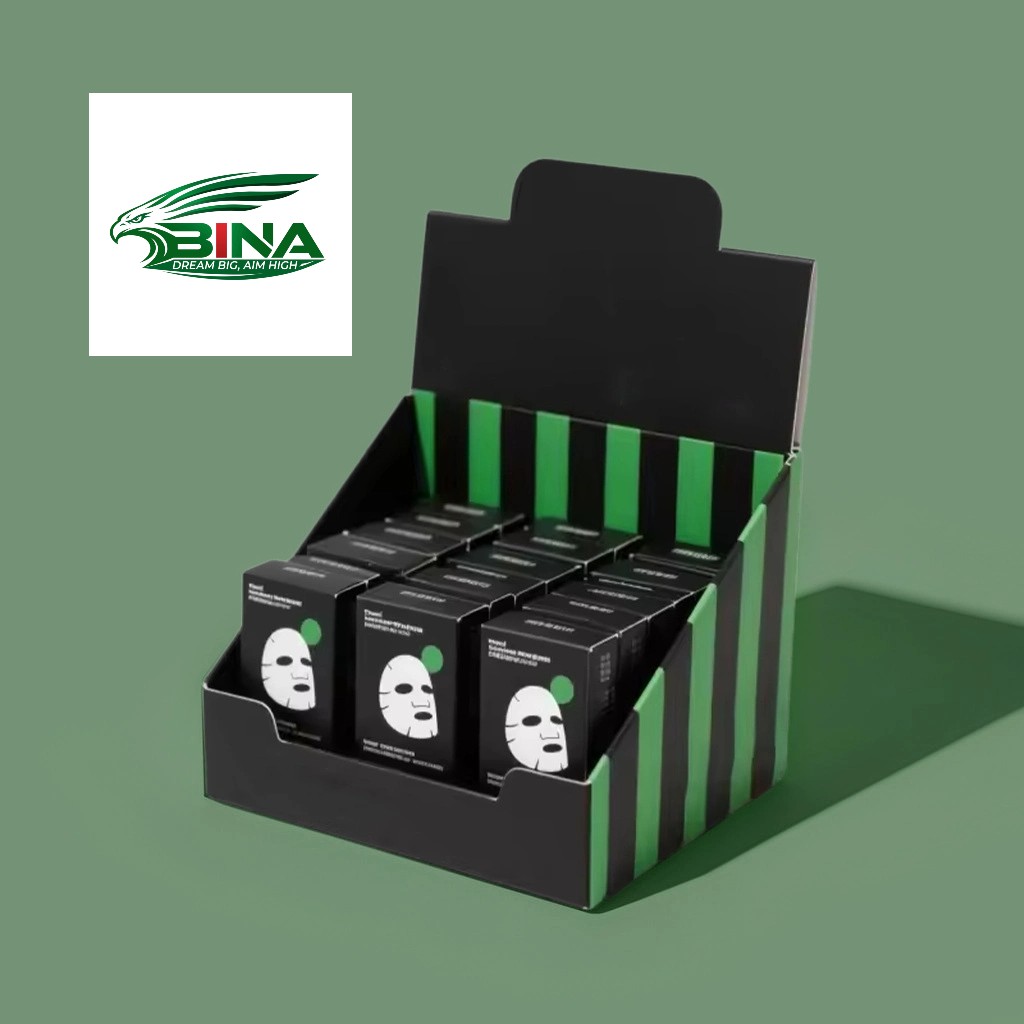
- Countertop display box: Place it next to the checkout counter to encourage customers to pick up products before paying.
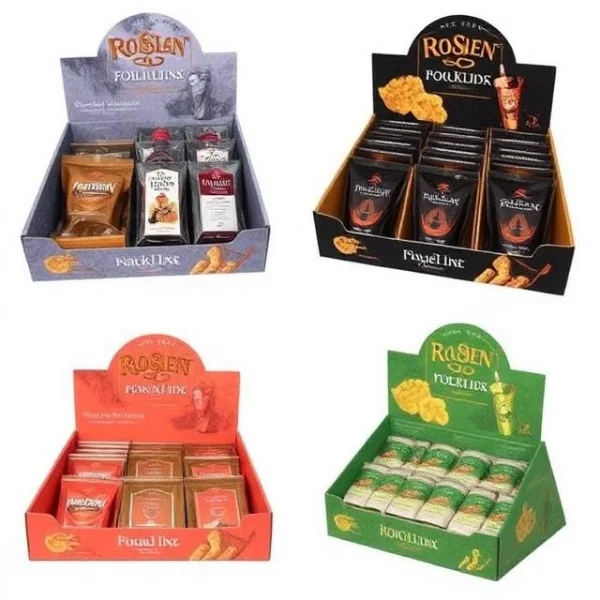
- Shelf display box: Place it on standard shelves to neatly display food, cosmetics, etc.
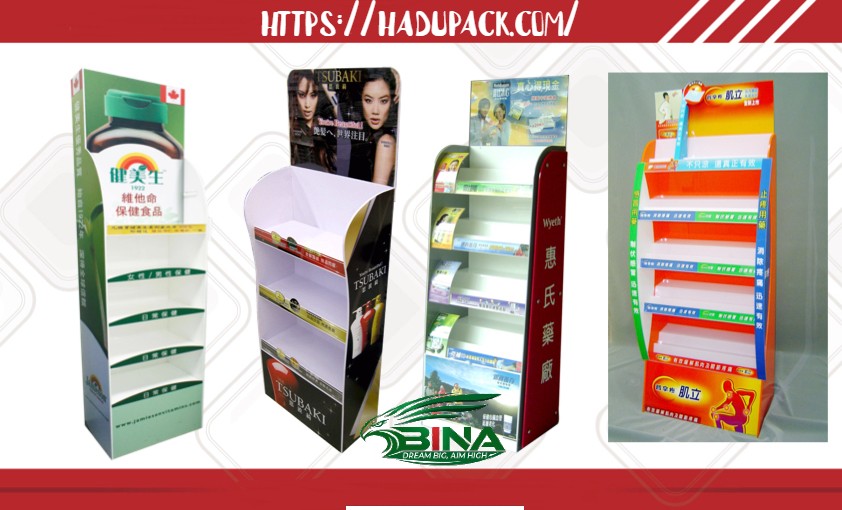
- Floor display box: Place it independently in aisles to promote new products or best-selling products.
 |
3. Common Types and Structures
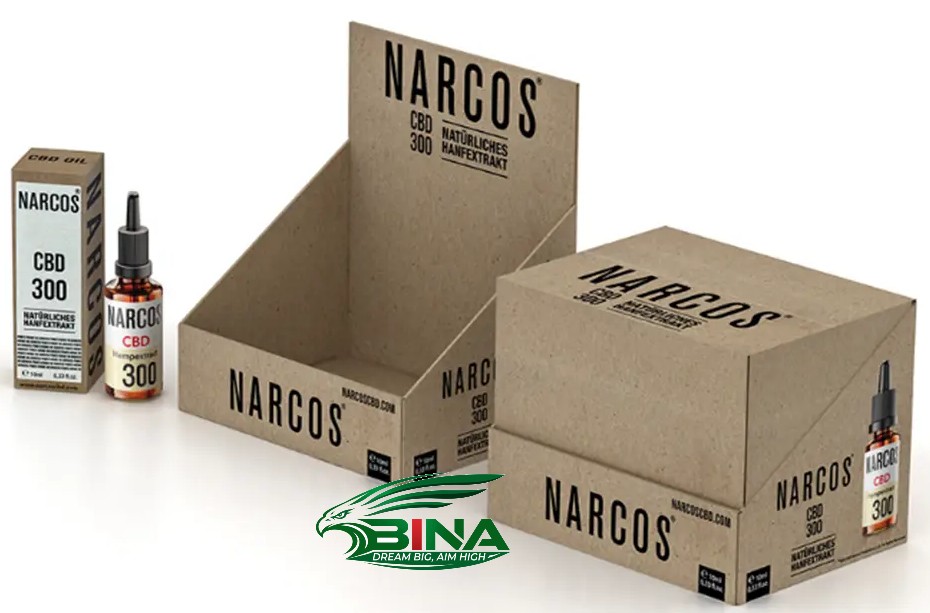
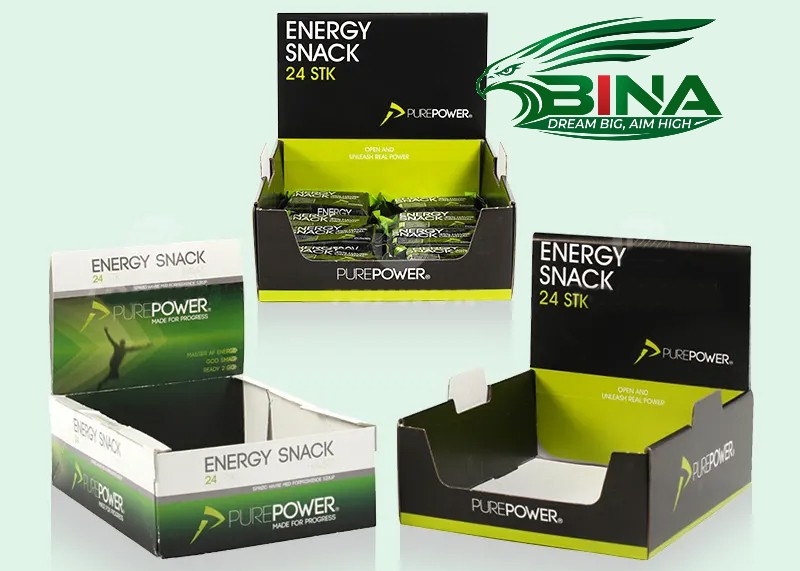
- PDQ Display Box (Pretty Darn Quick Display): Synonymous with efficient display, designed for quick product presentation.
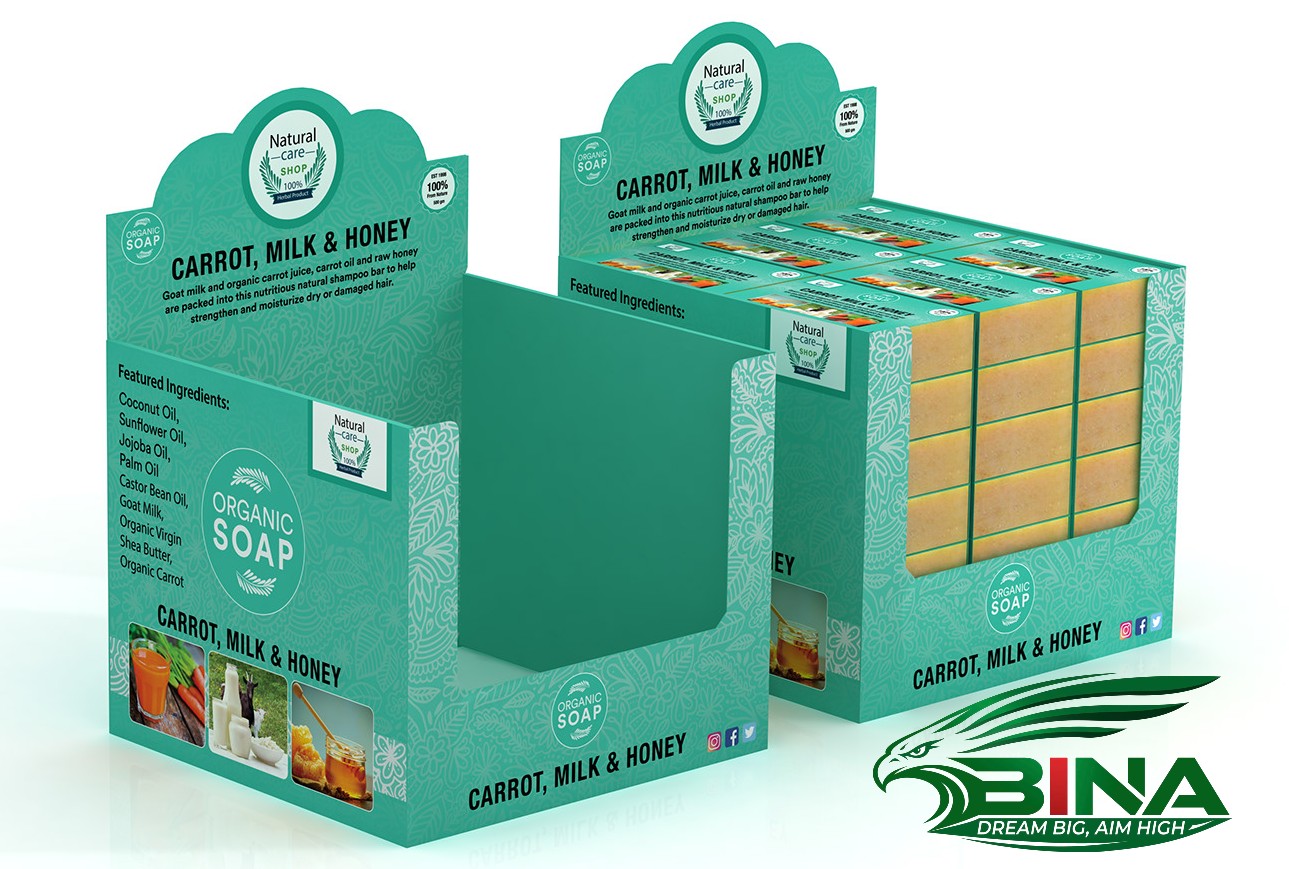
- Display Box with Window: A packaging box with a transparent PVC window, protecting the product while allowing a direct view of the contents.
- Display Box with Back Advertising Board: An advertising board extending from the back of the box, increasing the space available for brand promotion.
 |
Product display box printing production process
The production process for printing product display boxes usually includes: discussing requirements and design, checking and proofing, imposition and die making, printing, surface finishing, die cutting and gluing, inspection and delivery. The core factors lie in planning the die cutting, accurately selecting materials (such as white cardboard and corrugated paper), and subsequent processing techniques to achieve excellent product display effectiveness and visual appeal. The complete production process for printing product display boxes:
 |
Discuss requirements and structural design
- Confirm technical specifications: Determine the product dimensions and weight, and select suitable paper materials (gray coated paper, white cardboard, kraft paper, corrugated paper, etc.).
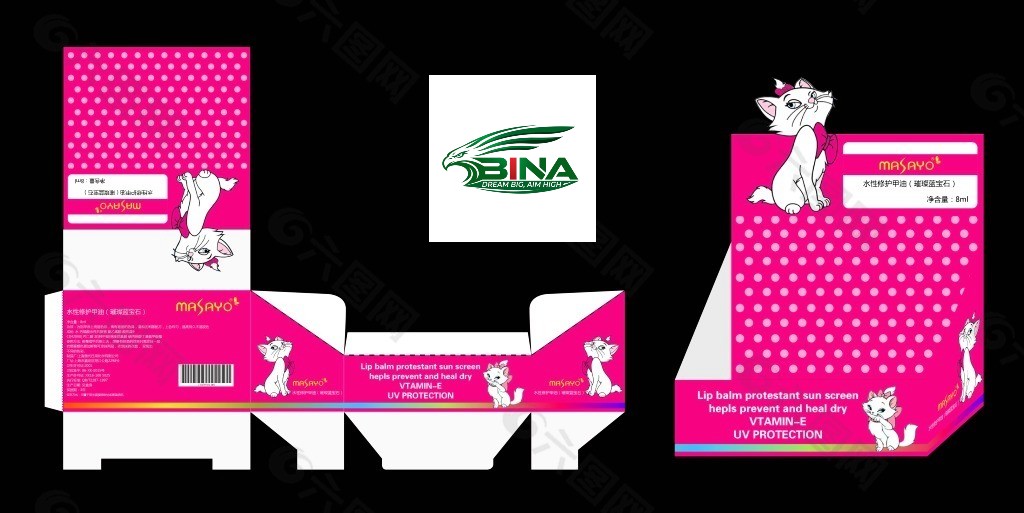
- Structural design: Create a “die-cutting diagram”, confirm the folding method and display function of the display box (such as hook boxes, tuck-in style, display stands, etc.).
 |
 |
Finalize the design and conduct a test print
- Graphic design: Adjust the graphic design to fit the die-cut template.
- Blank sample check: Create an unprinted sample to verify the accuracy of the box structure and dimensions.
- Digital/official sample check: Create a printed sample to verify the accuracy of the colors and design details.
 |
Prepress
Prepress: Creating print-ready files from design files (e.g., four CMYK plates for four-color printing).
Printing processes
Main printing: Mass production using offset printing, digital printing, etc.
 |
Surface finishing (Post-print finishing)
Enhancing texture and durability: For example, glossy/matte lamination, spot UV coating, embossing (gold/silver), debossing.
Die-cutting and gluing
- Die-cutting: Using a die to cut the printed paper into the shape of a rigid box.
- Gluing: Folding and gluing the die-cut cardboard into the finished product.
Quality inspection and shipping packaging
After rigorous quality inspection (color, structure, adhesion), the products are packaged and shipped.
 |
Common Issues in Display Box Printing
Common issues in printing product display boxes (color boxes) include severe color differences (the design and actual colors do not match), registration errors leading to white gaps or blurry images, unclear barcodes or text, peeling and bubbling of surface coatings (such as glossy or matte film), structural dimension errors that make assembly difficult, and unsuitable paper materials causing the cardboard to deform. These issues mainly stem from prepress design settings, ink quality, machine pressure, and environmental temperature and humidity control. The following are common issues and explanations in product display box printing:
 |
1. Issues with color and print quality
- Color differences: The most common issue. Causes include differences between on-screen display and actual printed ink, forced conversion of the design from RGB to CMYK mode, or inaccurate color matching.
- Misalignment: Double images appear along the edges of text or patterns on the surface of the color box, or white edges appear. This is usually due to insufficient machine registration accuracy, paper deformation, or unstable paper joints.
- Blurring/Ink smudges: Printed text is bold, images are blurry, or ink smears appear on the printed surface. The causes are usually excessive printing pressure, ink viscosity that is too low, or problems with the printing plate.
- Unable to scan text and barcodes: The barcode ink is unclear, excessively contracted, or has significant color differences, causing scanning errors during transportation.
 |
2. Issues with post-print processing and surface treatment
- Lamination film bubbling or peeling: Glossy or matte film does not adhere well to the paper, resulting in bubbles or peeling on the surface. Common causes include poor-quality adhesive, paper that is too wet, or incorrect temperature and pressure.
- Embossing/foil stamping peeling: Embossing is not firmly adhered and is prone to peeling after printing.
- Inaccurate die cutting (shaping): Inaccurate die dimensions cause misalignment during the assembly of display boxes or result in a loose structure.
 |
3. Material and structural issues
- Deformation and brittleness of corrugated cardboard: Corrugated cardboard that is damp or too dry, resulting in insufficient rigidity and an inability to perform its display and support functions.
- Delamination: The facing paper layer (printed layer) separates from the corrugated core paper layer, usually due to insufficient adhesive or incompatible paper materials.
 |
 |
 |
 |
4. Design and prepress issues
- Black ink misregistration: Small black text is not set to “Overprint Black”, causing misalignment and resulting in ink smearing.
- Insufficient file resolution: Image resolution below 300dpi causes the printed product to appear pixelated and blurry.
- Insufficient bleed: Bleed is not designed at the edges, causing white areas to appear along the edges after trimming.
 |
Preventive measures
To minimize the above issues, the following steps should be taken:
- Create a “pre-production proof”: Confirm the structure and colors.
- Confirm the file format: Confirm the use of CMYK mode and convert the text in the file to outlines.
- Paper storage: Temperature and humidity should be controlled in the printing workshop.